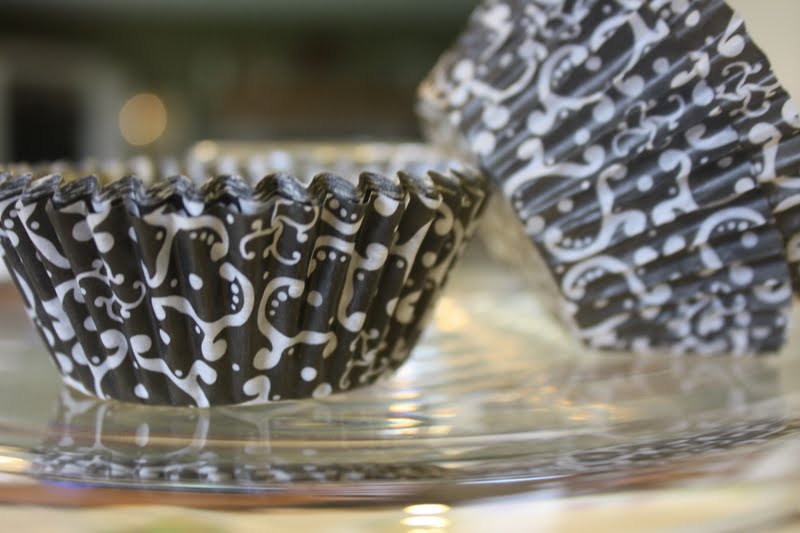
Oven Sandwich a warm yummy creation. I think this would be great anytime, but how fun would it be for a tea party?
Ingredients:
Pillsbury Grands with a touch of honey
Deli meat
American Cheese
Cream Cheese
What to do:
Pull the dough apart in the middle so you have two halves.
Spread one side with cream cheese and top with toppings. Then press the dough together. Place on a foil lined cookie sheet and bake according to package directions.
One of the baby gifts I loved receiving, is a taggie blanket. Or as I call it a taggie clutch since it is perfect for a baby to hold on to and slobber on.
A sweet baby girl is days, moments, seconds away from making her appearance in this world and I just can't wait to meet her! Maybe by the time this post publishes she has arrived... as I know her mom hopes! Dear friends of ours are having their first child (shout out to you Mandy at Madipidy http://www.mandipidy.com/)
and it is a girl! Yay for girls! Being a mom of four girls and one baby boy... I miss all those fun baby girl things! So I sure had fun making this little taggie clutch for baby Abigail!
My Caitlin Joy picked out this cute doll that just so happens to be named Joy!
The taggie is made with a square of minky fabric and a square of flannel. I used different ribbons around the edges. On the opposite sides of the taggie clutch the ribbons are in reverse order of kind.
Baby Abigail is so loved by so many! Congratulations to a wonderful family! Our love and prayers are with you!
A fever accompanied by the throw up bug, NO FUN! When my little ones are under the weather I cherish the opportunity to lavish lots of snuggles and attention on them. I try to make them as comfortable as possible in an uncomfortable situation.
A fever in summer is just a plain bummer! While everyone else was out at the pool, my sweet Caitlin Joy and I spent the day getting her well again.
A cold cloth on a hot forehead is so soothing. A cold cloth on a hot forehead only stays cool for a short time.
A cold cloth slipping down over her eyes brought about a giggly laugh.
Since that cold cloth is no longer warm after just minuets on her head I came up with a solution. A solution that helped to keep her mind off not feeling well.
A plastic dish with a Blue Ice pack and two wet wash cloths. This way when one cloth warmed up there was a nice cold one to trade with.
Ice Chips in a straw cup to begin liquids slowly to an upset tummy.
So hard having our darling little ones under the weather no matter the time of year!
Here is a bit of Summer around my house... my back yard to be exact. Also a bit of Summer weather.
I know you must be wondering what in the world? Why did she take a picture of a fence? See that white fuzzy spot? That is Cottonwood. It blows all around my house, making it look like it is snowing. Very pretty and whimsical. Also deadly to me being a severe Asthmatic! I have a love hate relationship with those little fuzzies!
Cheyenne Mountain with a summer storm rolling in.
With thunder so loud at times it makes you jump, the storm arrived and it began to rain. You can barely see Cheyenne Mountain.
Often our summer skies are adorned with rainbows. God's wonderful promise to us and His reminder that He always keeps His promises!
This is the kind of weather I don't mind being under!
Cupcakes are very popular these days. On occasion, my girls and I enjoy watching shows dedicated to bakers competing against one another for whose cupcake is the best. Though my out of a box cupcake mix will not be winning any competitions, they are winning smiles with my girls.
Chocolate cake frosted with half chocolate and half cream cheese frosting. I then used a fork to create the zebra effect.
Simple, easy and fast are these smile makers... cupcakes! YUM!
Howdy! Here it is, my sweet daughter and darling baby boy's bedroom!
My amazing mom made all of the bedding! Bed skirt and all! She is so talented and she is my MOM! I am just in love with how it turned out!
I will be adding more pillows. As for a head board... well this works for now.
For the blank wall I have a few ideas or it just may remain bare. Still deciding on that one.
Horse Sheets just complete the look for my horse loving daughter! Notice the Ric Rac on the curtains? Love the added touch it brings to the room.
Welcome home pictures from my youngest daughters to their baby brother! So sweet!
My God fearing husband is the Senior Pastor of our church. After having our son, I was unable to attend church one Sunday morning. My older daughters went to church with daddy. As daddy was preaching my daughter drew this portrait of him. She said, "this is what you look like on the inside daddy!" She was so proud of how fun her daddy is! Now her picture is displayed on her very own memo board in her new room!
A boy girl room made with LOVE! You can check out my other posts about this room here.
Okay so this refreshing summer treat does not fall under the healthy category but it most definitely is fun! I am not one who gives my kids caffeine, but every once in awhile there is an exception. This is one of them. A Coke Icee at home?!? Love it!
What you need:
A liter bottle of Soda of your choice, just can't be diet.. The artificial sweeteners will not freeze right. Or 4 cans of soda since all you need is 48oz.
An Ice Cream maker like the one pictured here. The bowl is frozen so that is what freezes the soda.
I added Grenadine to turn our Coke Icee into a cherry Coke Ice. Note: I did not use all the missing Grenadine from this bottle. You don't need a ton. The Coke I did use all but what is remaining.
Maraschino Cherries for fun
Fun straw cups for the very excited consumers!
A more grown up glass for the kids adults enjoying this treat.
Add a cherry and a straw and slurp away! Pin It Now!
I have a built in desk in my family room right off the kitchen. It has been a source of frustration for me for awhile now. It seems to not only be a bit of an eyesore but a clutter catcher as well. Since ripping it out was not an option I had to get creative. What could I do that would take away my extreme dislike for this area is what I began to ask myself. Well... here is what I came up with for now. I do have to say the dislike has disappeared! Amazing what a little paint and some creative touches can do to transform frustration into a feeling of satisfaction.
One of the things I really did not like was the open cubbies. My sweet husband uses this desk as well. Though I don't think he has ever sat at it, he does "store" stuff here. So I knew the cubbies were one area I needed to tackle. The paint color matches the accent wall in my family room as well as the bit of green I have in the kitchen. The cubby curtain matches my kitchen window valance that you can see here, as well as pillows I made for my couch. The top wall above the cabinets I am still deciding if and what I will do up there.
The memo board... can you keep a secret? It is a plastic bin lid that I turned into a memo board. Remember the plastic bins I made into drawers in my daughter's room? You can see them here. Well the lids were just sitting with out purpose. Purposeless no longer! The fabric matches pillows I made for my family room couch.
For the letter bin I used Word once again to create what I wanted inside the frames.
The toile back ground in the above picture was copied from a wall paper sample I found on the Internet. I just Googled toile and found different options. I then pasted it into Word and added the text I wanted.
For the roosters I also used the Internet and Word. I found the rooster prints I liked, copied them and pasted them. Each rooster is an individual print that I just stacked one on top of the other. The background I used for the roosters is the same one I used for my letter bin.
The frames for the pictures also found themselves made over with paint. gotta love black paint!
For the curtain here is what I did. I measured the fabric to the size I would need. I then pinned the edges and sewed them. To create the ruffle, as I was sewing the top I folded the fabric, reversing the fold each time. For example if I folded to the left the next one I folded to the right and so on. I used a zig zag stitch with silver thread. To attach the curtain I used double stick Velcro.
The folder cover is a background you can choose for a blog. I copied and pasted it into word and then added the words I wanted. The folder is a great solution for me and all my random ideas I come up with. It helps me keep my thoughts of what I would like to do around my home organized. I have each room or area in my house broken down and divided with dividers. Each section has a plastic insert where I can slide magazine clippings in of things that inspire me.
So there we have it! Simple touches that have taken my frustration away! Total cost for me to transform this desk area... my time and that is all.
May I encourage you, if you have an area around your house causing you frustration. Look around and see what you could do to improve upon it with what you already have.