

Okay I know I am a goof ball. But I sure do entertain myself!
This is the wall above my son's crib. Plain and boring and needing this...

Do you see my sweet little guy in his crib? He was so excited to see the transformation of a boring blue wall adorned with stars sparkling forth his name. Okay he slept through the whole ordeal... thank goodness or I would have never finished this project.
In my previous post I shared with you how I used Mod Podge and Scrapbook paper to cover his wooden letters for his name. I decided to brighten things up (you laugh here) and add painted stars under the letters. This is a shining example of how a little paint can make a big difference.
Here is what I did...


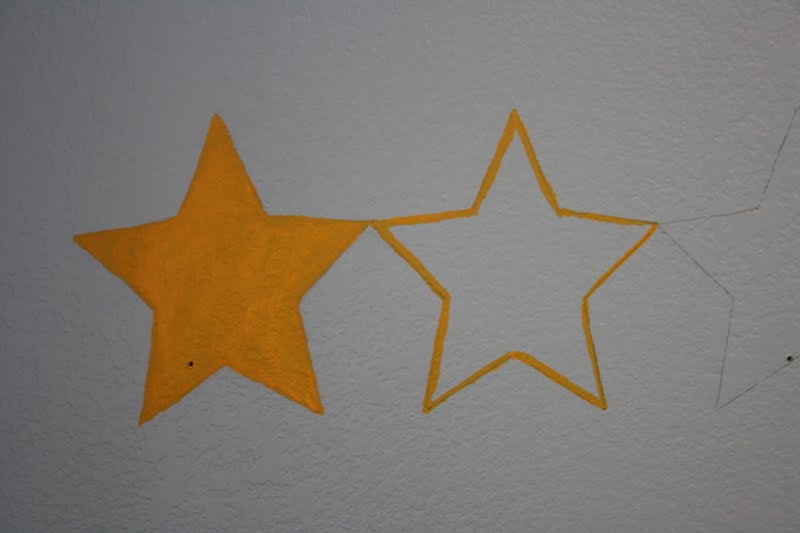
I had to use three coats of paint to get the star to really cover over the blue paint. Painting the star white first would have been a bright idea. I used Acrylic paint... same paint I use for my wood projects. Can be purchased at any craft store.

I give this project five stars!

I just love the way it turned out!

These are the picture hangers I attached to the back of each letter. I bought them at Lowe's for $1.94 for a package of six. On the letter "N" I used two so it would hang straight. These are so great, you just hammer them in, rather than hammering in a little nail to hold it in place.
And to think, I did all of this while still in my pajamas!

Pin It Now!